Understanding Subwoofer DSP
Unlock the Full Power of Your Subwoofer
This post offers recommendations based on the legacy SVS Sledge STA-800D and STA-1000D amplifier platforms. For more up to date information related to current SVS subwoofer models, please refer to this article: Subwoofer Calibration: Getting the Bass Just Right.
The SVS Plus and Ultra models equipped with the Sledge DSP amplifier platform feature the most powerful, sophisticated and comprehensive menu options in the industry. These menu options allow the user to optimize the in-room performance of the subwoofer, achieving the best balance of accuracy, deep extension and optimal phase and time-domain behavior:
- The Variable Tune feature allows users of ported models to select the optimal combination of deep extension and maximum output for the room size and preferred playback level.
- Common room acoustic problems like standing wave modal peaks and room gain can be easily tackled using the dual Parametric Equalizer and Room Gain Compensation menu options.
- A true variable Phase control is available to achieve optimal phase integration between the speakers and subwoofer and is also extremely useful for multiple subwoofer applications.
- Dedicated 2-channel users have unparalleled set-up flexibility, with dedicated High/Low Pass Filters with variable frequency and slope to form a perfect digital crossover between the subwoofer and speakers, along with an industry-exclusive Line Level Delay function for perfect time alignment when the subwoofer is located behind the speakers.
Learn more below with all the details about each Sledge DSP menu option along with user tips for both AV and 2-channel applications. Also included below is a handy menu navigation interface for the Feature Control and an amplifier panel graphic showing all inputs/outputs and hardware controls.


Volume (Gain)
This menu option affects how loud the subwoofer plays. The control range is -100 dB to 0 dB (maximum). The factory default setting is 0 dB.
AVR: For connection to an A/V receiver, it should normally be set between -15 and -5 (depending on the room size and strength of the AVR sub-out signal) prior to running auto-set-up.
The desired AVR subwoofer channel level after running auto-set-up is in the -8 to -4 range (typically on a scale of -12 to +12).
If the post-set-up AVR subwoofer channel level is bottomed out at the minimum setting (usually -12), that means the subwoofer volume was set too high. Reduce the subwoofer volume accordingly and re-run set-up. If the post-set-up AVR subwoofer channel level is in the positive region, that means the subwoofer volume was set too low. Increase the subwoofer volume accordingly and re-run set-up.
2-CH: For 2-channel applications, the volume should simply be adjusted to match the output level of the main loudspeakers.
High Pass Filter
This menu option high-pass filters the signal being sent from the line level outputs. The high-pass filter is adjustable for both slope (12 dB/octave and 24 dB/octave) and frequency (31.5, 40, 50, 63, 80, 100, and 125 Hz). The factory default setting is Disabled.
AVR: The high-pass filter is not used for digital bass management applications.
2-CH: If high-passing the connected loudspeakers is desired – adjust the menu slope and filter to the desired settings.
Daisy-Chaining Multiple Subwoofers: If daisy-chaining to another subwoofer is desired, the high-pass filter must be disabled.
Low Pass Filter
This menu option low-pass filters the signal being sent to the line level inputs. The low-pass filter is adjustable for both slope (12 dB/octave and 24 dB/octave) and frequency (31.5, 40, 50, 63, 80, 100, and 125 Hz). The factory default setting is Disabled.
AVR: The low-pass filter is not used for digital bass management applications.
2-CH Loudspeakers Full-Range: Operating the loudspeakers on full-range is the most common 2-channel set-up. In this scenario, the low-pass filter frequency should be adjusted to blend with the natural roll-off frequency of the loudspeakers. The manufacturer’s rated bass extension for the loudspeaker is a good starting point, but final blending is best done by ear.
The low pass filter slope should generally match the acoustic roll-off slope of the loudspeakers (24 dB/octave for vented and 12 dB/octave for sealed).
2-CH Loudspeakers High-Passed: If the loudspeakers are being high-passed using the SVS amplifier, the low-pass filter should be adjusted to match the high-pass frequency and slope settings in order to form a crossover. There are exceptions where asymmetric high/low pass slopes are employed to achieve the desired in-room system response, and this is usually a measurement-driven process.
Phase Control
This control delays the signal being processed through the amplifier. The control range is 0 degrees to 180 degrees in 15 degree increments. The factory default setting is 0 degrees.
AVR: The phase control is typically not used for digital bass management applications. The A/V receiver will time-align the subwoofer and the loudspeaker channels via the distance setting.
2-CH: Efforts should be made to place the loudspeakers and the subwoofer in the same plane, so they are time-aligned. If this is not possible, the phase control may be used to improve time-domain integration between the loudspeakers and subwoofer and this is best done by ear.
Integrating Dual Subwoofers: The phase control can be beneficial in integrating dual subwoofers which are not located along the same plane/wall in the listening room.
The phase control on the subwoofer which is physically closer to the listening position should be adjusted until both subwoofers are optimally time-aligned. This can be done by ear or by using a sound level meter with a rumble tone (i.e., band-limited pink noise).
High Pass Delay
This control delays the signal being sent from the line level outputs. The control range is 0 milliseconds (ms) to 10 ms in 1 ms increments. The factory default setting is 0 ms.
AVR: The high pass delay function is not used for digital bass management applications.
2-CH Loudspeakers High-Passed: Efforts should be made to place the loudspeakers and the subwoofer in the same plane, so they are time-aligned. If this is not possible (and the subwoofer is located behind the loudspeakers), the high-pass delay may be used to improve time-domain integration between the loudspeakers and subwoofer. For each foot of distance the subwoofer is located behind the loudspeakers), add 1 ms of delay.
2-CH Loudspeakers Full-Range: The high pass delay function is not used if the loudspeakers are being operated on full-range.
Room Gain Compensation
This menu option compensates for excessive amounts of ‘room gain’ (a rising low-end bass response most common in smaller listening rooms). Excessive room gain can create a bloated or bottom-heavy sound from the subwoofer.
The acoustic roll-of slope of the SB13-Ultra is designed to complement available room gain in most listening spaces, so this menu control is rarely used with the SB13-Ultra. It is more commonly used with the SVS variable tune models (PB12-Plus, PC12-Plus, PB13-Ultra, PC13-Ultra).
The room gain compensation control is adjustable for frequency (40 Hz, 31.5 Hz, 25 Hz) and slope (6 dB/octave and 12 dB/octave). When enabled, this control will reduce the output of the subwoofer below the selected frequency. The steeper the selected slope, the more aggressive the effect. The factory default setting is Disabled.
AVR: If the A/V receiver set-up function equalizes the subwoofer channel (such as Audyssey MultEQ XT or XT32), the room gain compensation control is not required. If the A/V receiver set-up function does not equalize the subwoofer channel, the room gain compensation may be beneficial to reduce excessive amounts of low-frequency energy in smaller listening rooms to help restore a more balanced presentation.
2-CH: If excessive amounts of low-frequency energy are present in smaller listening spaces and the presentation seems bloated or bottom-heavy, the room gain compensation may be beneficial to help restore a more balanced sound.
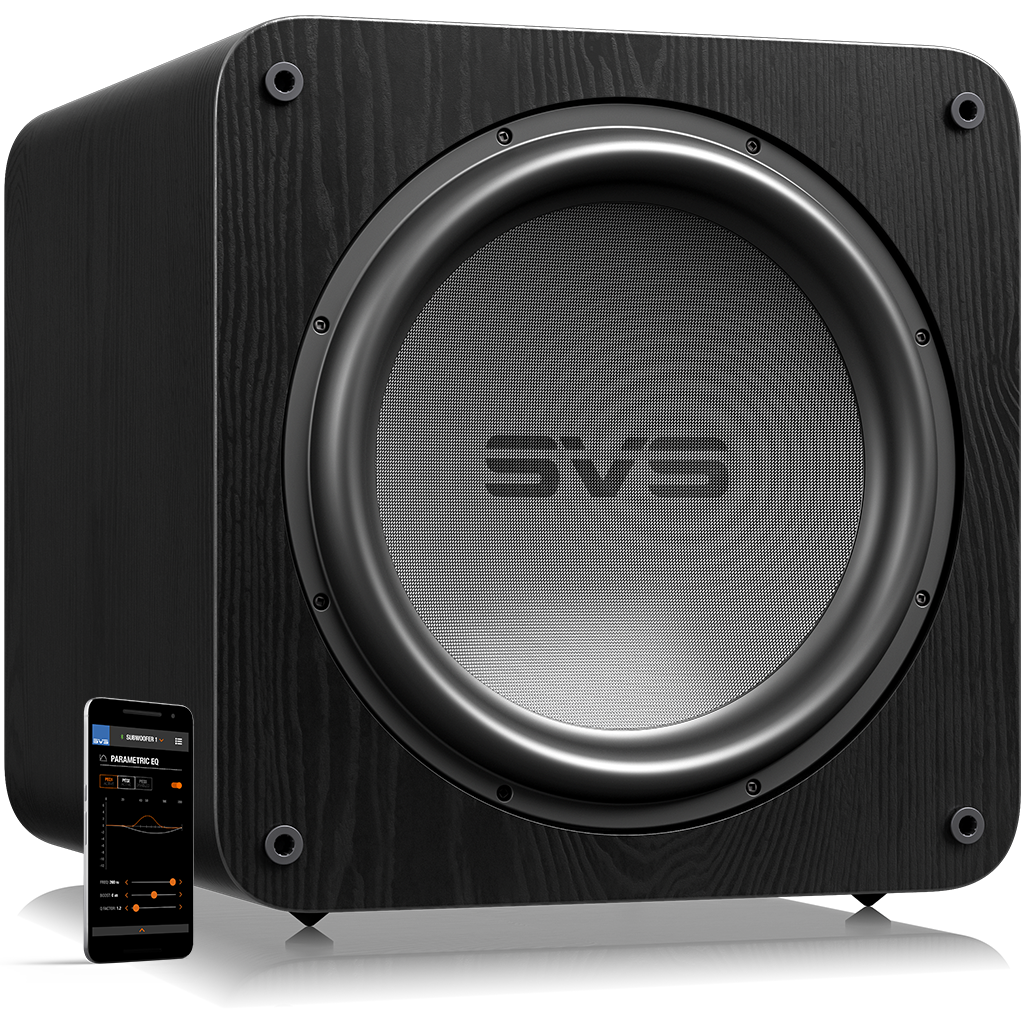
Parametric Equalizer (P-EQ)
This menu option allows the user to reduce the magnitude of standing-wave modal peaks at the listening position. Modal peaks are common in any listening space and are created when standing waves reinforce at certain frequencies. The result is a ‘peaky’ or ‘one-note’ sound quality to the bass presentation.
There are two (2) PEQ filters in the SB13-Ultra menu. Each PEQ filter has three settings:
- Frequency: 31.5, 35, 40, 46, 50, 56, 63, 70, 80, 90, 100, 112, and 125Hz
- Level: -12 to +3 dB
- Q (filter bandwidth): 2.0, 2.4, 2.9, 3.6, 4.8, 5.7, 7.2, 9.6 and 14.4
A Q value of 2.0 has a filter bandwidth of 0.7 octaves. A Q value of 14.4 has a filter bandwidth of 0.1 octaves.
The factory default setting for the PEQ control is Disabled.
The employment of a PEQ filter is most commonly accompanied by in-room acoustic measurements which can accurately identify the frequency, magnitude and bandwidth of the modal peak. The PEQ controls are then adjusted accordingly to reduce the effect of the modal peak, restoring a more balanced bass presentation.
AVR: If the A/V receiver set-up function equalizes the subwoofer channel (such as Audyssey MultEQ XT or XT32), the PEQ control is usually not required.
If the A/V receiver set-up function does not equalize the subwoofer channel, the PEQ control can be used to reduce the effect of a modal peak, restoring a more balanced bass presentation.
Prior to using the PEQ filter, in-room acoustic measurements which can accurately identify the frequency, magnitude and bandwidth of the modal peak are recommended for optimal results.
2-CH: The PEQ control can be used to reduce the effect of a modal peak, restoring a more balanced bass presentation. Prior to using the PEQ filter, in-room acoustic measurements which can accurately identify the frequency, magnitude and bandwidth of the modal peak are recommended for optimal results.
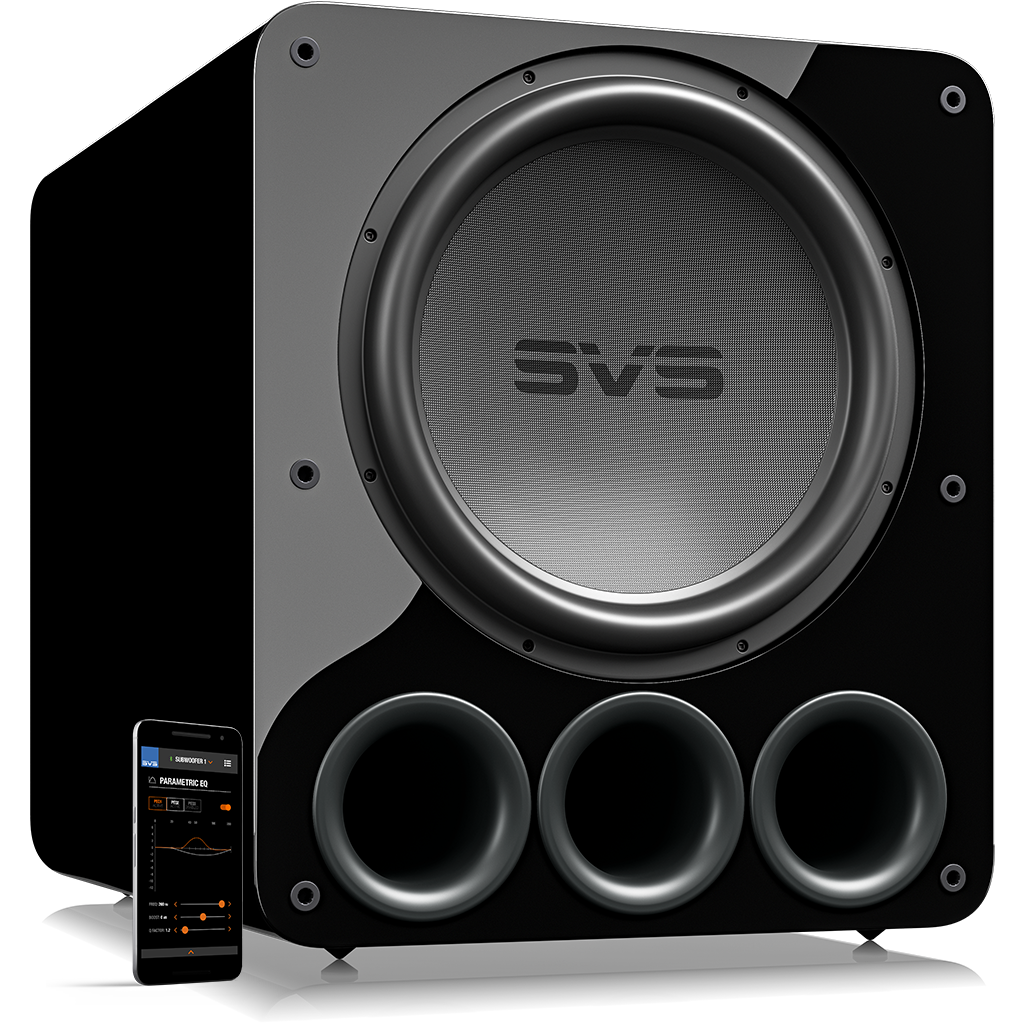
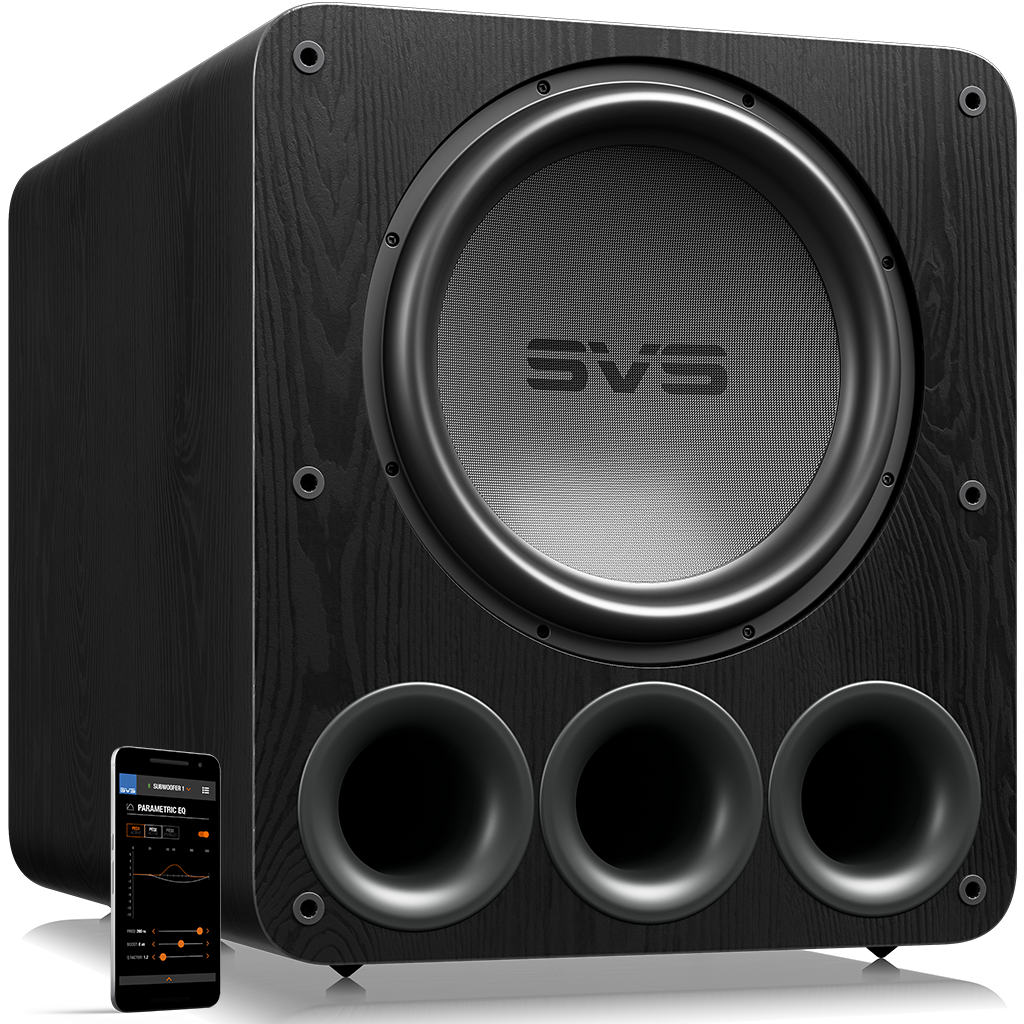
Subwoofer Tune
This menu feature is available on SVS variable tune subwoofers (PB12-Plus, PB-4000, PB16-Ultra, PC12-plus, PC-4000). Three tuning modes are available – 20 Hz, 16 Hz and Sealed. Below is a description of the performance and correct settings for each tuning option. To plug a port on the SVS variable tune subwoofers, remove the grille and insert the foam port blocker into the port until it is nearly flush with the port flare.
20 Hz Mode:
- All ports open.
- Subwoofer Tune menu set to 20 Hz.
- The 20 Hz mode will deliver the highest maximum output over the most common bass ranges and is the best choice for extreme playback levels in very large rooms.
16 Hz Mode:
- One port plugged.
- Subwoofer Tune menu set to 16 Hz.
- The 16 Hz mode will deliver the best balance between extremely deep extension (13-14 Hz in-room) and high output, and is the best choice in most room sizes.
Sealed Mode:
- All ports plugged.
- Subwoofer Tune menu set to Sealed.
- The Sealed mode has the best transient characteristics, and is the preferred choice for a primarily music application. While Sealed mode does roll-off earlier, the roll-off slope is shallower than the vented modes, and therefore takes the best advantage of available room gain. This can result in extremely deep extension when the subwoofer is placed in a smaller enclosed listening space.
SVS makes a variety of powered subwoofers with DSP amplifiers to fit every room, audio system and budget. Browse all SVS subwoofers and use the compare tool to look at features and specifications side-by-side as you choose the best subwoofer for your system. Have questions? Our Sound Experts are available 7 days-a-week to help you choose the best subwoofers based on your set-up and listening preferences.